
Self-Introduction Practice and Preparation Guide

Table of Contents
Why Practice Changes Everything
Here’s a hard truth: reading about self-introductions doesn’t make you good at them. Knowing the theory doesn’t translate to execution. You could understand everything in Blogs #1-13 perfectly, but without structured practice, you’ll still freeze during your actual interview or networking event.
The difference between candidates who nail introductions and those who fumble isn’t talent or intelligence—it’s deliberate practice. This final blog gives you the complete system to transform knowledge into skill through proven practice techniques, confidence-building exercises, and real-world preparation strategies.
The 4-Weeks Self-Introduction Mastery Program
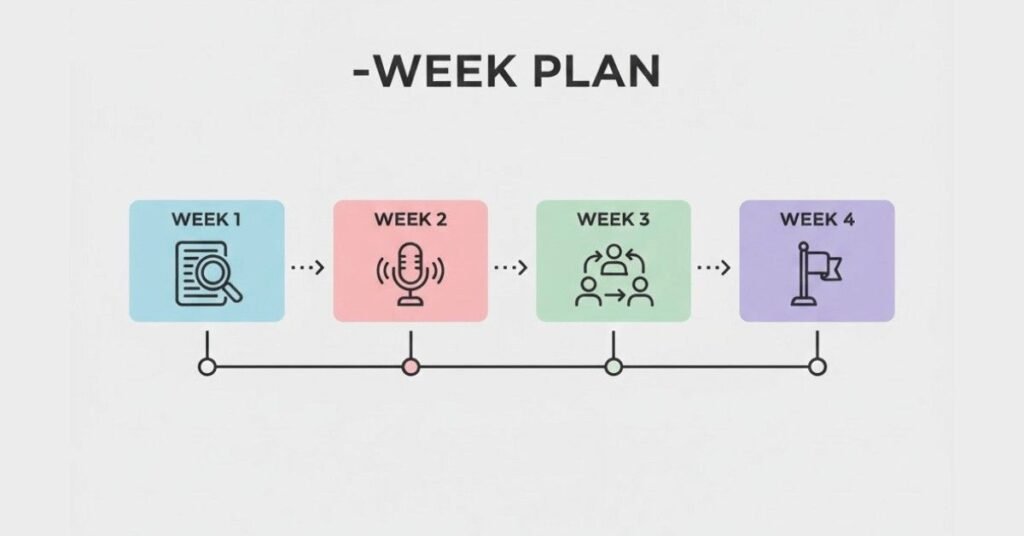
Use this progressive four-week plan to move from theory to confident execution.
WEEK 1: Foundation and Writing

Goal: Create written versions of your introduction for different scenarios
Monday:
- Identify your three target introduction lengths: 30 seconds, 60 seconds, 90 seconds
- Write your complete background: education, experience, achievements, goals
- List 5-7 quantified achievements with specific numbers
Tuesday:
- Write your 90-second introduction using the structure from Blog #1
- Include all key elements: opening hook, education, achievements, values, forward statement
- First draft doesn’t need to be perfect—just capture your story
Wednesday:
- Rewrite your 90-second version, cutting unnecessary words
- Get feedback from a friend or mentor: “What stands out? What’s confusing?”
- Edit based on feedback
Thursday:
- Create your 60-second version by removing 25-30% of content from the 90-second version
- Prioritize the most impressive achievements and clearest value proposition
- Ensure it flows naturally with pauses
Friday:
- Create your 30-second version focusing on your unique angle and hook
- This should make people want to hear more
- Write three different 30-second versions emphasizing different strengths
Weekend:
- Review all versions
- Identify which feels most authentic to you
- Note any sections that feel forced or inauthentic
WEEK 2: Recording and Listening

Goal: Hear yourself and identify areas for improvement
Monday:
- Record your 90-second introduction on your phone
- Watch WITHOUT sound—observe your body language, posture, facial expressions
- Rate yourself: Do you look confident? Professional? Engaging?
Tuesday:
- Listen to the recording WITHOUT watching—focus only on voice
- Note: Speaking pace (too fast/slow?), tone (monotone/varied?), clarity (clear pronunciation?), energy level
- Listen a second time while watching—do voice and body language align?
Wednesday:
- Identify your specific areas to improve (e.g., “I rush through achievements,” “I sound nervous,” “My posture is slouched”)
- Record yourself three times, each time deliberately addressing one issue
- Compare the three versions—which is best?
Thursday:
- Record all three lengths: 30, 60, 90 seconds
- Time yourself with each recording
- Adjust any that exceed their target time
Friday:
- Record a “natural” version where you don’t read notes—just speak conversationally
- Compare your “prepared” version with your “natural” version
- Blend them: keep the structure of prepared version with the flow of natural version
Weekend:
- Watch all recordings and select your best one of each length
- Share with 2-3 trusted people and ask for honest feedback
Note patterns in their feedback
WEEK 3: Social Practice and Feedback
Goal: Practice with real people and get authentic feedback
Monday:
- Tell your introduction to a family member
- Ask: “Do I sound confident? Did anything confuse you? What do you remember most?”
- Take notes on their feedback
Tuesday:
- Tell your introduction to a colleague or friend
- Try to sound natural, not rehearsed
- Note where you struggle to keep flow
Wednesday:
- Have a friend do a mock interview with you
- Practice your introduction first, then answer 3-4 follow-up questions
- Ask for feedback on both introduction and responses
- Attend a networking event (even an online one) and practice your 30-second introduction with 3-5 people
- Focus on delivery, not perfection
- After each conversation, note: Did they seem engaged? Did they ask follow-up questions?
Friday:
- Practice introducing yourself to someone you genuinely want to connect with
- Use your introduction naturally as part of real conversation
- Notice how they respond
Weekend:
- Compile all feedback received
- Identify consistent patterns (e.g., “People said you seem enthusiastic but rushed”)
- Revise your introduction based on patterns
WEEK 4: Scenario Simulation and Refinement

Goal: Practice in simulated scenarios closest to your actual interview/event
Monday:
- Research the specific company/interviewer you’re meeting
- Customize your introduction’s closing to this specific opportunity
- Practice 5 times with the customized version
Tuesday:
- Do a full mock interview with a friend playing the hiring manager
- Start with your introduction, then answer 5-6 common questions
- Record it and watch together
Wednesday:
- Practice your introduction in formal clothing in front of a mirror
- Practice your introduction in your actual interview location if possible (or simulate it)
- Pay attention to how your introduction feels in the actual setting
Thursday:
- Do a video mock interview (if your actual interview is virtual)
- Test camera angle, lighting, audio quality
- Deliver your introduction 3 times, each with different camera positioning
- Select the best camera setup
Friday:
- Practice introducing yourself to 3 different people and collect feedback on each
- Ask specifically: “How confident do I seem?” “What was my strongest point?”
- Refine based on real feedback
Saturday:
- Do one final full mock interview
- Time yourself: introduction should be your chosen length (30, 60, or 90 seconds)
- Record and compare to your Week 2 recordings—see how much you’ve improved
Sunday:
- Rest and visualize success
- Review your best recordings (Week 2 selections)
- Mentally prepare for your actual event
- Ensure you’re confident, not nervous
Confidence-Building Exercises

These exercises directly address the anxiety that undermines good introductions.
The Power Posture Exercise (5 minutes daily)
Stand in a power stance (feet shoulder-width apart, hands on hips or arms raised) for 2 minutes. Research shows this actually increases confidence hormones. Then deliver your introduction in this posture. Notice how you feel different.
The Mirror Practice (10 minutes, 3x weekly)
Deliver your introduction while making eye contact with yourself in the mirror. Sounds silly, but it trains eye contact and helps you see your facial expressions. Practice smiling appropriately, maintaining professional expression while speaking.
The Anxiety Reframe (Before Any Event)
Instead of “I’m nervous,” say “I’m excited.” Your body’s nervous and excited responses are physiologically similar—but your mind interprets them differently. This simple reframe reduces anxiety by 30%.
The Worst-Case Scenario Exercise
Imagine the absolute worst thing that could happen during your introduction: you forget what to say, you stutter, you make a joke that lands badly. What would actually happen? Usually, it’s recoverable. Knowing this reduces anxiety.
The Success Visualization (5 minutes, daily for 1 week before event)
Close your eyes and vividly imagine yourself giving your introduction perfectly. Hear yourself speaking clearly. See the interviewer nodding, engaged. Feel the confidence in your body. Do this daily—it primes your brain for success.
Real-World Testing and Feedback System
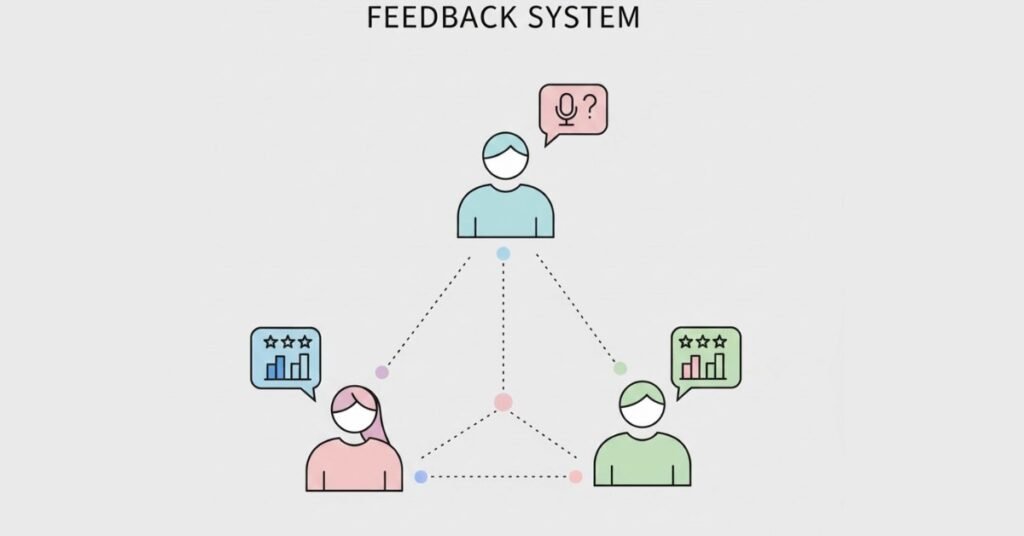
The Three-Person Feedback Method
Ask three different people to listen to your introduction and rate you (1-10) on:
- Confidence (1-10)
- Clarity (1-10)
- Memorability (1-10)
- Professionalism (1-10)
- Authenticity (1-10)
If multiple people rate you below 7 on any dimension, that’s your improvement area.
The Video Comparison Method
Record yourself every week. Watch Week 1 version vs. Week 4 version back-to-back. You’ll see dramatic improvement, which builds confidence for your actual event.
The Stranger Test
Practice your introduction with someone who doesn’t know you and isn’t a friend. Their feedback is more objective. Do this at least once before your actual event.
The Recording Review Checklist
After each recording, rate yourself on.
✅ Eye contact (60-70% of the time)
✅ Posture (straight, open, engaged)
✅ Smile (warm, natural, appropriate)
✅ Hand gestures (purposeful, not excessive)
✅ Voice pace (not rushed, not too slow)
✅ Voice tone (varied, not monotone)
✅ Verbal fillers (no “ums,” “ahs,” “likes”)
✅ Content (relevant, quantified, authentic)
The Pre-Event Preparation Checklist (48 Hours Before)

Two Days Before:
- ✅ Review all three versions of your introduction
- ✅ Watch your best recordings
- ✅ Research the company/interviewer thoroughly
- ✅ Customize your introduction for this specific opportunity
- ✅ Prepare 3-4 follow-up questions to ask
Day Before:
- ✅ Practice your introduction 3 times
- ✅ Get full 8 hours of sleep (confidence comes from rest)
- ✅ Prepare your clothes/setup (for video interviews, test camera and lighting)
- ✅ Do a final anxiety reframe or visualization
Morning of Event:
- ✅ Review your introduction once (don’t over-practice)
- ✅ Do power posture exercise (2 minutes)
- ✅ Eat a good breakfast (low blood sugar increases anxiety)
- ✅ Arrive 15 minutes early (or log in early for virtual events)
- ✅ Do breathing exercises: 4-count in, hold 4, 6-count out (calms nervous system)
Advanced Practice Techniques for Specific Scenarios
For Virtual Interviews:
Practice looking at the camera while speaking, not at your image on screen. This creates better “eye contact” for the interviewer. Do this 10 times until it feels natural.
For Group Discussions:
Practice your 30-second introduction while sitting with others around you. Practice maintaining composure and confidence even when people are watching and evaluating. Do this with 5+ people present.
For Networking Events:
Practice your introduction in a noisy environment (coffee shop, busy area). This trains you to maintain clarity and confidence despite distractions. Do this at least once.
For Handling Interruptions:
Have someone interrupt you mid-introduction. Practice pausing gracefully, acknowledging them, then resuming. This prepares you for real-world chaos.
Measuring Progress: Your Confidence Scorecard
Track your progress weekly on this scorecard:
Metric | Week 1 | Week 2 | Week 3 | Week 4 |
Confidence (1-10) | ||||
Clarity (1-10) | ||||
Authenticity (1-10) | ||||
Pacing (1-10) | ||||
Body Language (1-10) | ||||
Memorability (1-10) |
You should see progression across all metrics. If you don’t, double down on that specific area.
The Week Of Your Event: Final Optimization
3 Days Before: Practice once, focus on customization
2 Days Before: Prepare mentally, review recordings
1 Day Before: Light practice only, mostly rest and visualization
Day of: Minimal practice (1-2 run-throughs max), focus on arrival preparation and breathing
Remember: Your preparation is done. The day of your event, trust your practice.
After Your Event: The Feedback Loop
Don’t let your practice end at your event. After every introduction opportunity
Immediately after:
Write down: How did it go? What felt natural? What was awkward? Did they seem engaged?
Within 24 hours:
Get feedback if possible. Ask the interviewer/organizer: “How did I come across? What could I improve?
Learn and adjust:
Update your introduction based on this real feedback. Each event teaches you something.
The Transformation Happens Through Practice
Here’s what research shows: people who practice their introduction 10+ times perform 73% better than those who don’t practice. But here’s the key—it’s not about memorization. It’s about internalizing your story until you can tell it naturally in any context.
When you’ve practiced enough, your introduction becomes part of who you are, not just something you say. That authenticity is what makes people remember you.

Your Next Step
You now have access to 14 complete blogs on self-introductions. You have templates, frameworks, examples for every scenario, and a complete four-week practice program.
What you do next matters more than anything you read:
This week:
- Choose one introduction scenario (interview, networking, GD, or virtual)
- Write your introduction using the templates from Blog #13
- Start Week 1 of the practice program
Next week:
- Move to Week 2: Recording and self-evaluation
Week 3:
- Practice with real people
Week 4:
- Simulate your actual scenario
Then, when your real opportunity comes, you won’t be nervous. You’ll be ready. You’ll walk in knowing you’ve practiced, refined, and mastered your introduction. That confidence shows, and that’s when doors open.
Your self-introduction is no longer something to dread—it’s your opportunity to make an unforgettable first impression.
Now go practice.